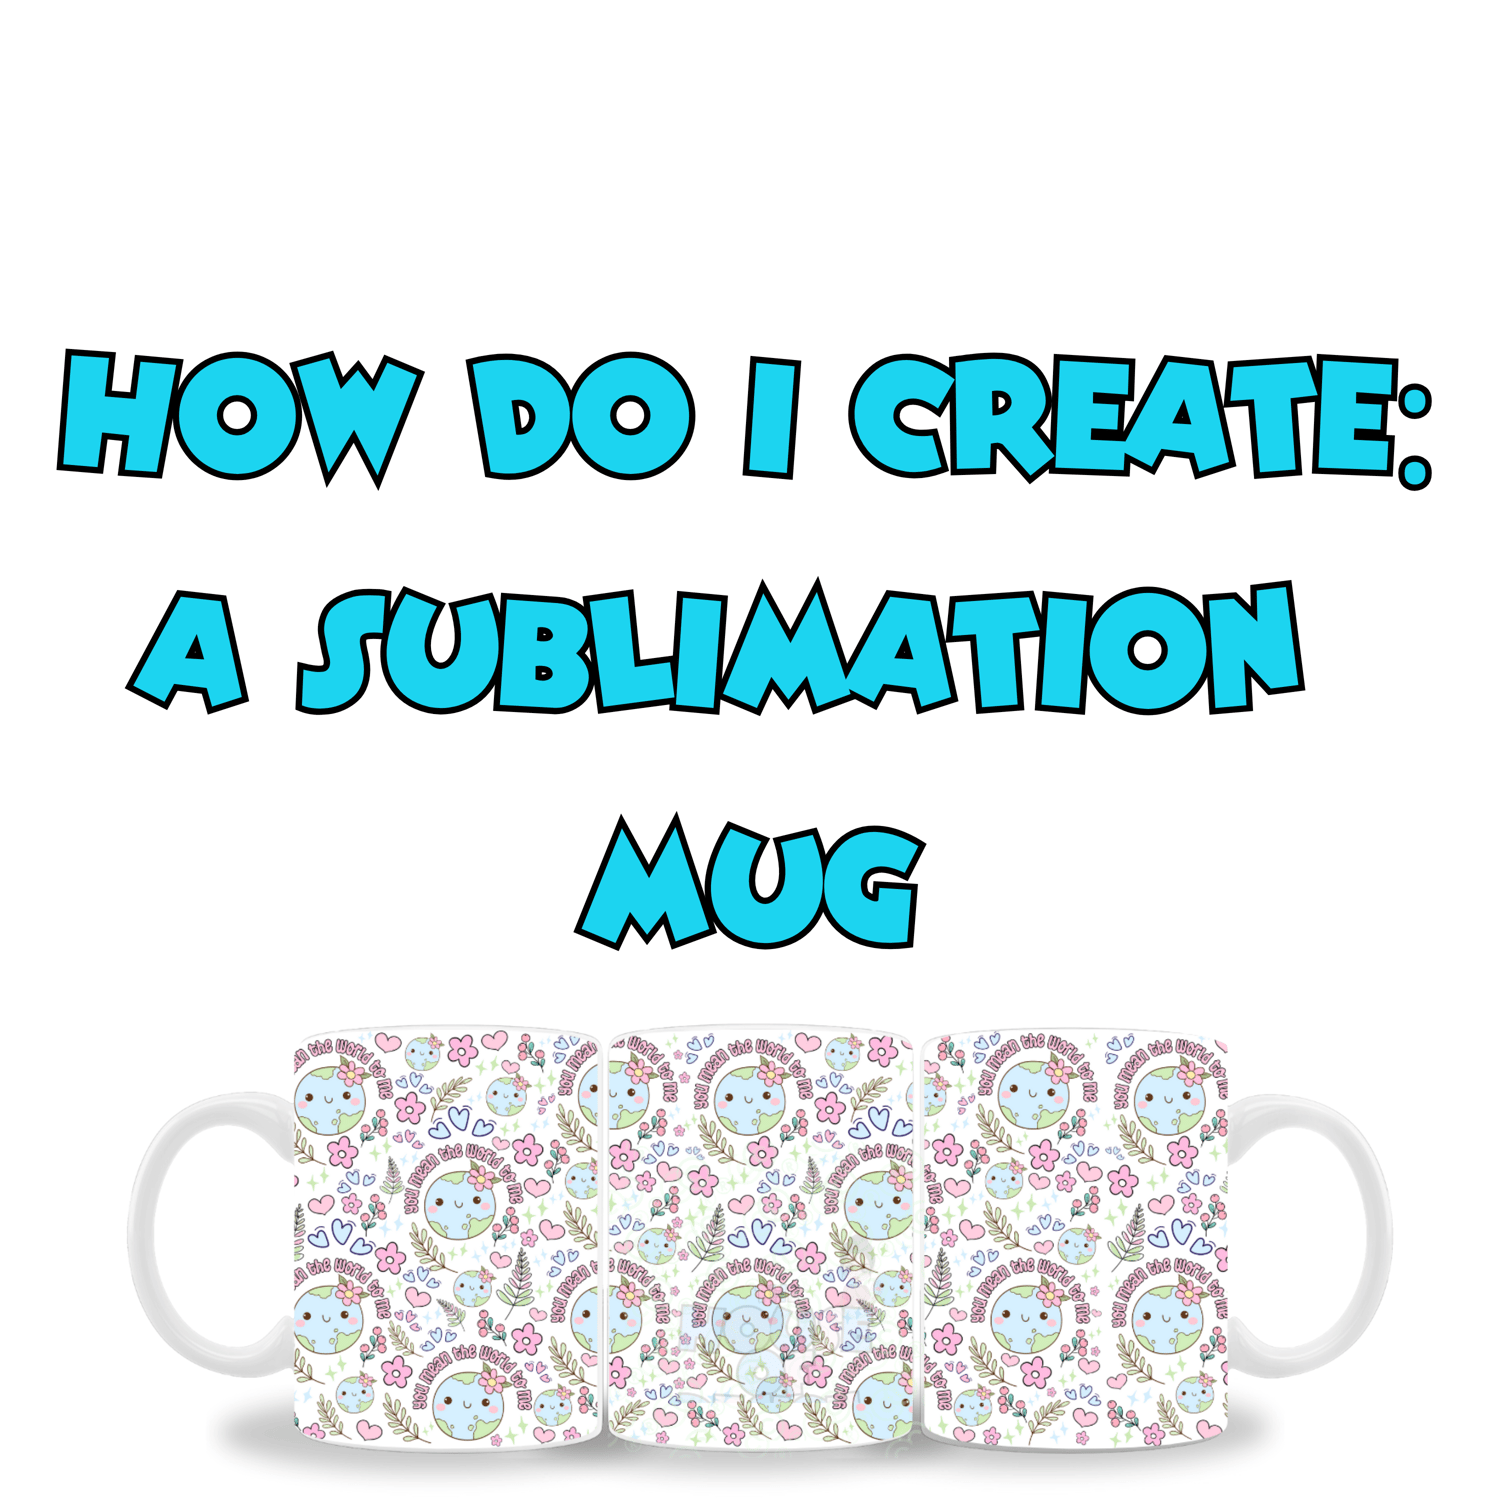
Making sublimation mugs is a fantastic way to create custom, vibrant, and durable designs that are perfect for gifts, promotional items, or personal use. Sublimation printing uses heat to transfer ink onto a specially coated mug, resulting in a permanent, full-color image that won’t peel or fade. Here’s a step-by-step guide on how to make sublimation mugs:
Materials Needed:
- Sublimation Mugs – Mugs that have been specially coated to accept sublimation ink (typically ceramic mugs).
- Sublimation Printer – A printer that uses sublimation ink (such as an Epson printer with sublimation ink or a Sawgrass printer).
- Sublimation Paper – Special paper designed for sublimation printing that holds the ink until it is transferred to the mug.
- Sublimation Ink – Special dye-based ink used in sublimation printing.
- Heat Press Machine (Mug Press or Convection Oven) – A mug press is specifically designed for heat pressing mugs, or a convection oven can be used as an alternative.
- Heat Resistant Tape – To secure the sublimation paper to the mug during the heat transfer process.
- Gloves and Tongs – To handle the hot mug safely after heat pressing.
- Design Software – Software like Adobe Illustrator, Photoshop, or a free tool like Canva to create your custom design.
Instructions:
1. Create or Select Your Design
Start by designing your custom image or graphic. You can use software like Adobe Photoshop, Illustrator, or free options like Canva. Consider the size and shape of the mug when designing.
- Important Tip: If your design includes text, mirror the design before printing. This is essential because sublimation transfers the design in reverse onto the mug.
2. Print the Design
Load your sublimation paper into the sublimation printer. Print your design using sublimation ink. Ensure that you mirror your design before printing so that it transfers correctly to the mug. Use the highest print quality for the best results.
3. Prepare the Mug
Clean the mug thoroughly before applying the design. Wipe it down with rubbing alcohol and a cloth to remove any oils, dirt, or dust that could interfere with the sublimation process. This will ensure the ink adheres properly to the mug surface.
4. Trim and Attach the Design
Once your design is printed, trim the sublimation paper to fit the area of the mug you want to decorate. The design should wrap around the mug comfortably.
- Secure the design to the mug using heat-resistant tape. Make sure the design is aligned correctly and the paper is tightly attached to the mug to avoid any shifts during the heat transfer.
5. Heat Press the Mug
You can use either a mug press or a convection oven for the heat transfer process.
- Mug Press:
- Place the mug into the mug press. Make sure the design is aligned properly and that the heat press arms are secured around the mug.
- Set the temperature to around 375°F (190°C) and the time to 3-5 minutes. These settings may vary slightly based on the type of mug and mug press you're using, so be sure to refer to the manufacturer's instructions.
- Convection Oven:
- If using a convection oven, preheat it to 360°F (182°C).
- Use a mug wrap (which helps ensure an even heat transfer), wrap the mug with it, and place it into the oven.
- Bake for about 6-8 minutes, checking periodically to ensure the temperature is consistent and that the mug doesn’t overheat.
6. Remove and Cool
Once the heat press or oven time is complete, carefully remove the mug from the heat source. Use gloves or tongs to handle the hot mug, as it will be very hot. Allow the mug to cool completely before removing the sublimation paper and tape.
7. Inspect the Design
Once the mug is cool, carefully peel off the sublimation paper and heat-resistant tape. You should have a crisp, vibrant, and permanent design that has bonded to the surface of the mug. Sublimation prints are resistant to fading, peeling, or cracking, making them perfect for everyday use.
8. Cleaning and Finishing
To preserve the design, hand wash the mug only. Avoid using the dishwasher or abrasive cleaning products, as they can damage the print.
Additional Tips:
- Sublimation Mugs: Always use mugs that are specially coated for sublimation. Regular mugs or uncoated mugs won’t accept the sublimation ink and may result in poor transfers.
- Design Placement: Ensure that the design is properly aligned on the mug and that you’re not stretching the paper too tightly during the taping process.
- Quality Check: After your first few mugs, check the quality of the print to make sure it’s vibrant and there are no smudges or misalignments.
Conclusion:
Making sublimation mugs is a simple and rewarding process that allows you to create long-lasting, colorful, and custom mugs for personal use, gifts, or business. The sublimation process permanently infuses the ink into the mug, ensuring that your designs will never fade, peel, or crack. Once you get the hang of it, you can explore endless possibilities with custom graphics, logos, quotes, or photos on your mugs!


