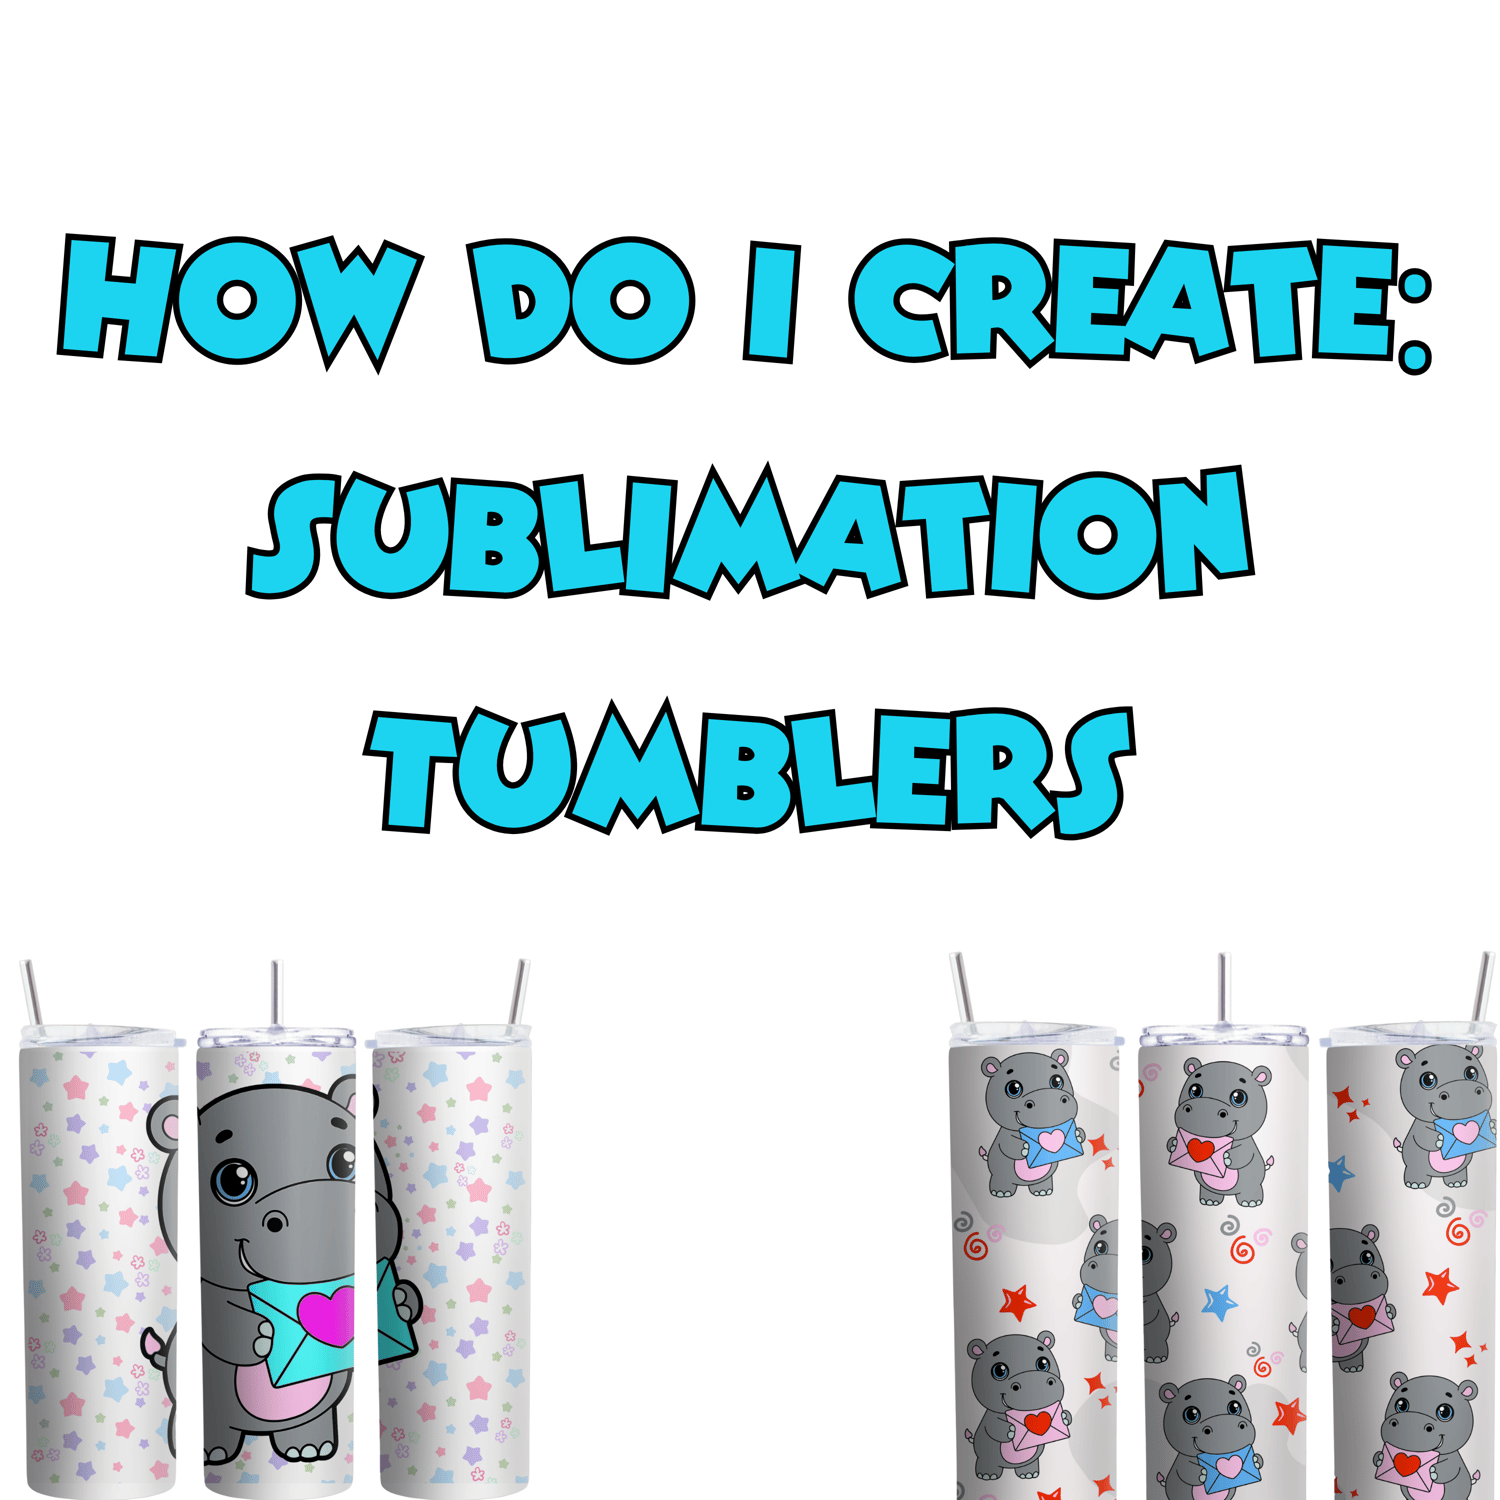
Making sublimation tumblers is a fun and creative process, ideal for creating vibrant, custom designs. Sublimation printing allows you to transfer colorful, detailed images onto tumblers, making them ideal for gifts, promotional items, or personal use.
Here’s a step-by-step guide on how to make sublimation tumblers:
Materials Needed:
- Sublimation Tumblers – These are tumblers coated with a special coating that allows sublimation ink to bond with the surface
- Sublimation Printer – A printer that uses sublimation ink (such as an Epson printer with sublimation ink or a Sawgrass printer).
- Sublimation Paper – Special paper designed for sublimation printing that holds the ink until it is transferred onto the tumbler.
- Sublimation Ink – Special dye-based ink used in sublimation printing.
- Heat Press Machine (Tumbler Heat Press or Convection Oven) – You will need a heat press specifically for tumblers, or you can use a convection oven to apply heat.
- Heat Resistant Tape – To secure the sublimation paper onto the tumbler during the heat transfer process.
- Gloves and Tongs – To handle the hot tumbler safely after heat pressing.
- Design Software – Software like Adobe Illustrator, Photoshop, or a free tool like Canva to create your custom design.
Instructions:
1. Create or Select Your Design
Start by creating or selecting a design for your tumbler. You can use graphic design software like Adobe Photoshop, Illustrator, or free tools like Canva. When creating the design:
- Make sure the design is the correct size for the tumbler. Ours are already pre-sized!
- You can measure the tumbler and create a template based on its dimensions.
- Remember to mirror your design before printing, as sublimation printing transfers the image in reverse.
2. Print the Design
Load the sublimation paper into your sublimation printer. Print your design using sublimation ink, making sure it is mirrored (flipped horizontally) so that it transfers correctly onto the tumbler. Use the highest quality print setting for the best results.
3. Prepare the Tumbler
Clean the tumbler thoroughly to remove any dust, oils, or debris. Use rubbing alcohol and a cloth to wipe it down. This ensures the sublimation ink adheres properly to the surface.
4. Trim and Attach the Design
Trim the sublimation paper to fit the tumbler, ensuring it covers the area you want to print. Once it’s trimmed, wrap the sublimation paper tightly around the tumbler and use heat-resistant tape to secure it in place. Make sure the design is aligned and flush with the surface to prevent any misalignment during the heat transfer process.
5. Heat Press the Tumbler
Depending on the method you’re using, heat the tumbler as follows:
- Tumbler Heat Press: Place the tumbler into the heat press machine, ensuring it’s properly aligned. Set the temperature to around 375°F (190°C) and the time to 45-60 seconds. The exact time and temperature can vary depending on the tumbler and heat press you’re using, so always refer to the manufacturer's instructions for best results.
- Convection Oven Method: If you're using a convection oven, preheat the oven to 360°F (182°C). Place the tumbler in an oven-safe tumbler wrap and insert it into the oven. Heat it for 6-8 minutes, checking periodically to make sure it’s not overheating.
6. Remove and Cool
Once the sublimation process is complete, carefully remove the tumbler from the heat press or oven. Use gloves or tongs to handle the hot tumbler to avoid burns. Let it cool completely before removing the sublimation paper and tape.
7. Inspect the Design
After cooling, carefully remove the sublimation paper and tape. You should have a vibrant, permanent design that is infused into the surface of the tumbler. Sublimation prints are durable and will not peel or fade like vinyl.
8. Cleaning and Finishing
Allow the tumbler to cool fully before cleaning it. Hand wash the tumbler to preserve the design; avoid using harsh chemicals or putting it in the dishwasher.
Additional Tips:
- Multiple Colors and Layers: If you want to create complex designs with multiple layers, you can print and press the design in parts, layering the sublimation transfers.
- Sublimation Tumblers: Always use tumblers that are specifically coated for sublimation. Regular tumblers or those without a special coating won't work with sublimation ink.
- Safety: Always wear heat-resistant gloves and use tongs to handle hot items to prevent burns.
Making sublimation tumblers is a great way to create custom, high-quality drinkware. The sublimation process allows for full-color, durable prints that are perfect for personalizing your tumblers or creating unique gifts. Once you get the hang of it, you can experiment with different designs, colors, and patterns to make your tumblers even more unique!


